Don’t miss new content! Follow me:
Bristlebots, Brushbots and Vibrating Robots - An Improved Guide
Bristlebots are among the most popular robotics projects for teachers and young learners. I used to think there was nothing left to innovate—until I took a deep dive into it!
I designed three Bristlebot variations with varying levels of complexity.
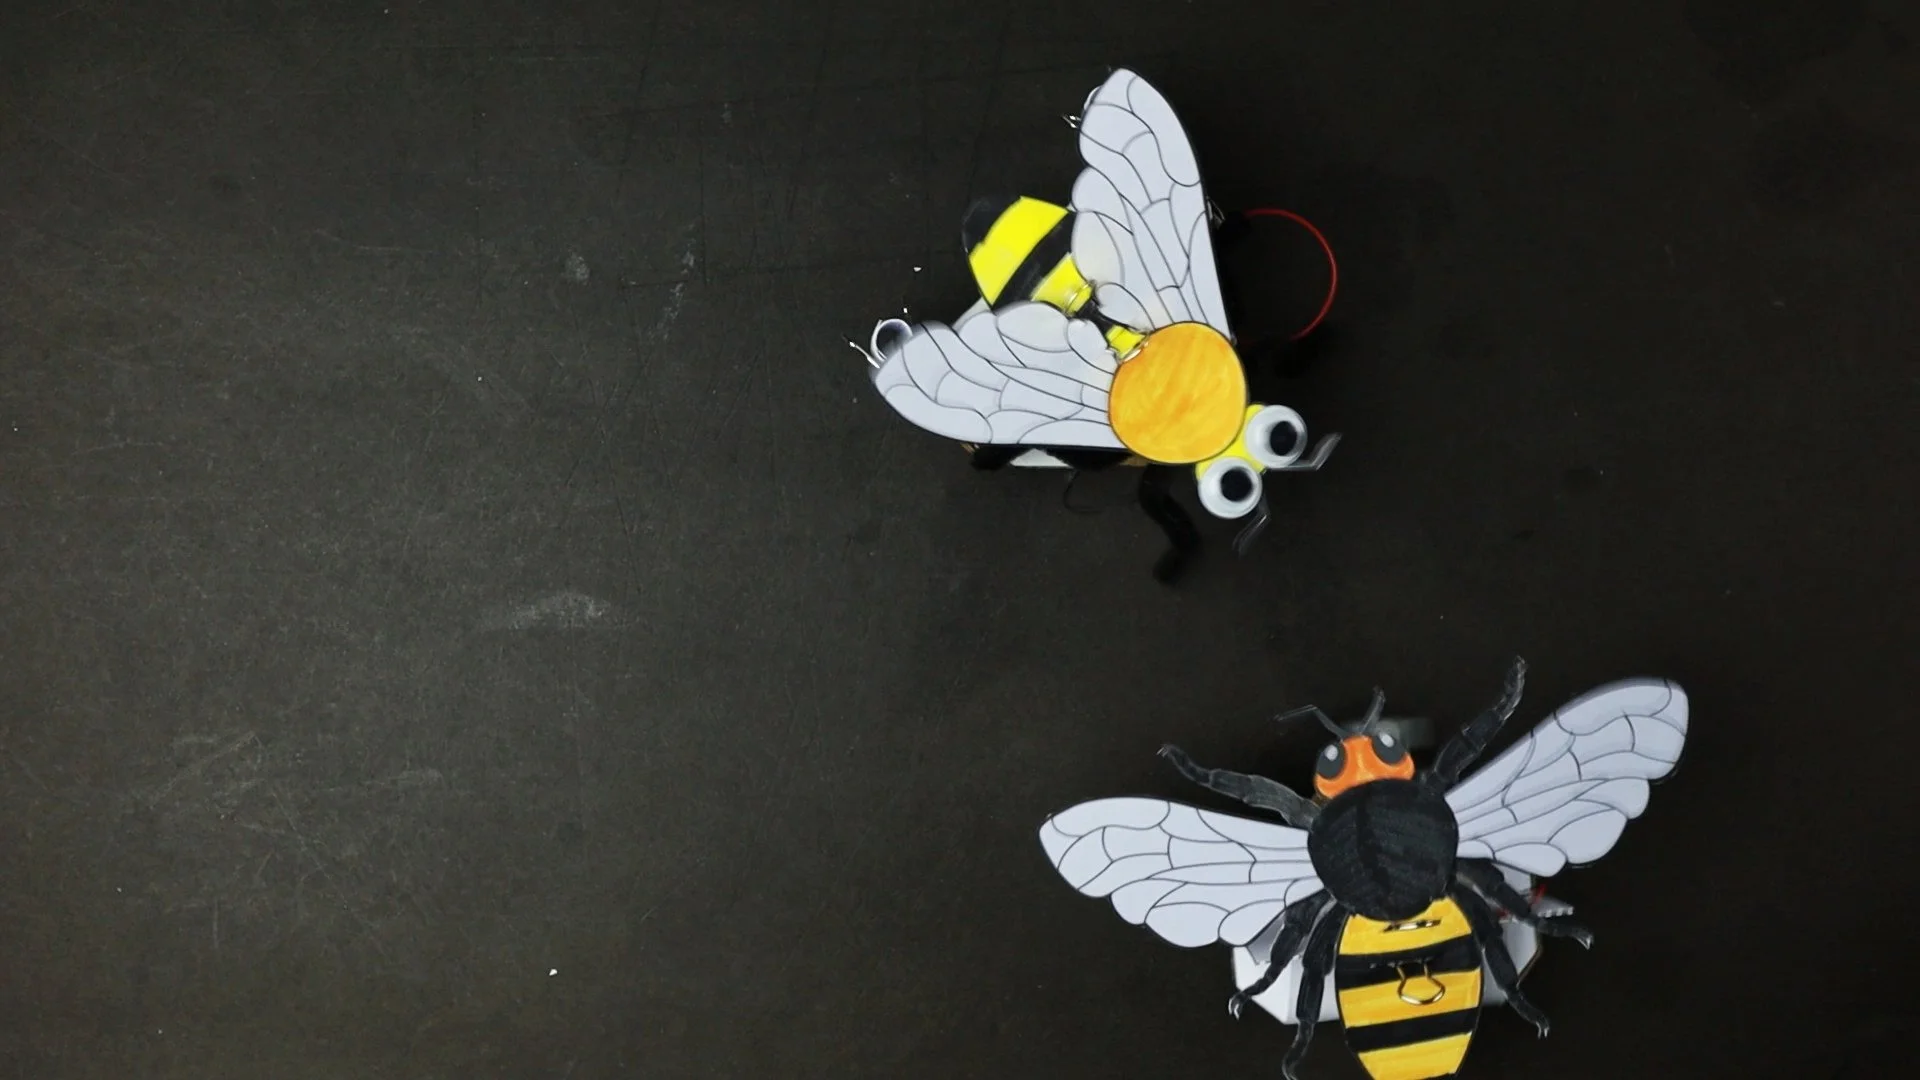
The Bee Robot is the simplest version and serves as the foundation for the other two robots (coming soon). It uses a DIY chassis made from bent paper clips instead of a brush. By adjusting the paper clips, students gain full control over the robot’s movement. They can also add an optional speed-control module for even more control. As always, this project uses only basic electronics and conductive tape—no expensive kits or tools needed.
Check out my video to see how it’s done!
Video Tutorial
Facts about the Project:
Recommended age: 9 years and older
Skill level electronics: easy
Skill level crafting: medium
Time needed: 1-2 hours
Estimated costs per project: 3-4 Euro or Dollar
Templates and Shopping List
Visit my Teachers Pay Teachers store to download my workshop kit.
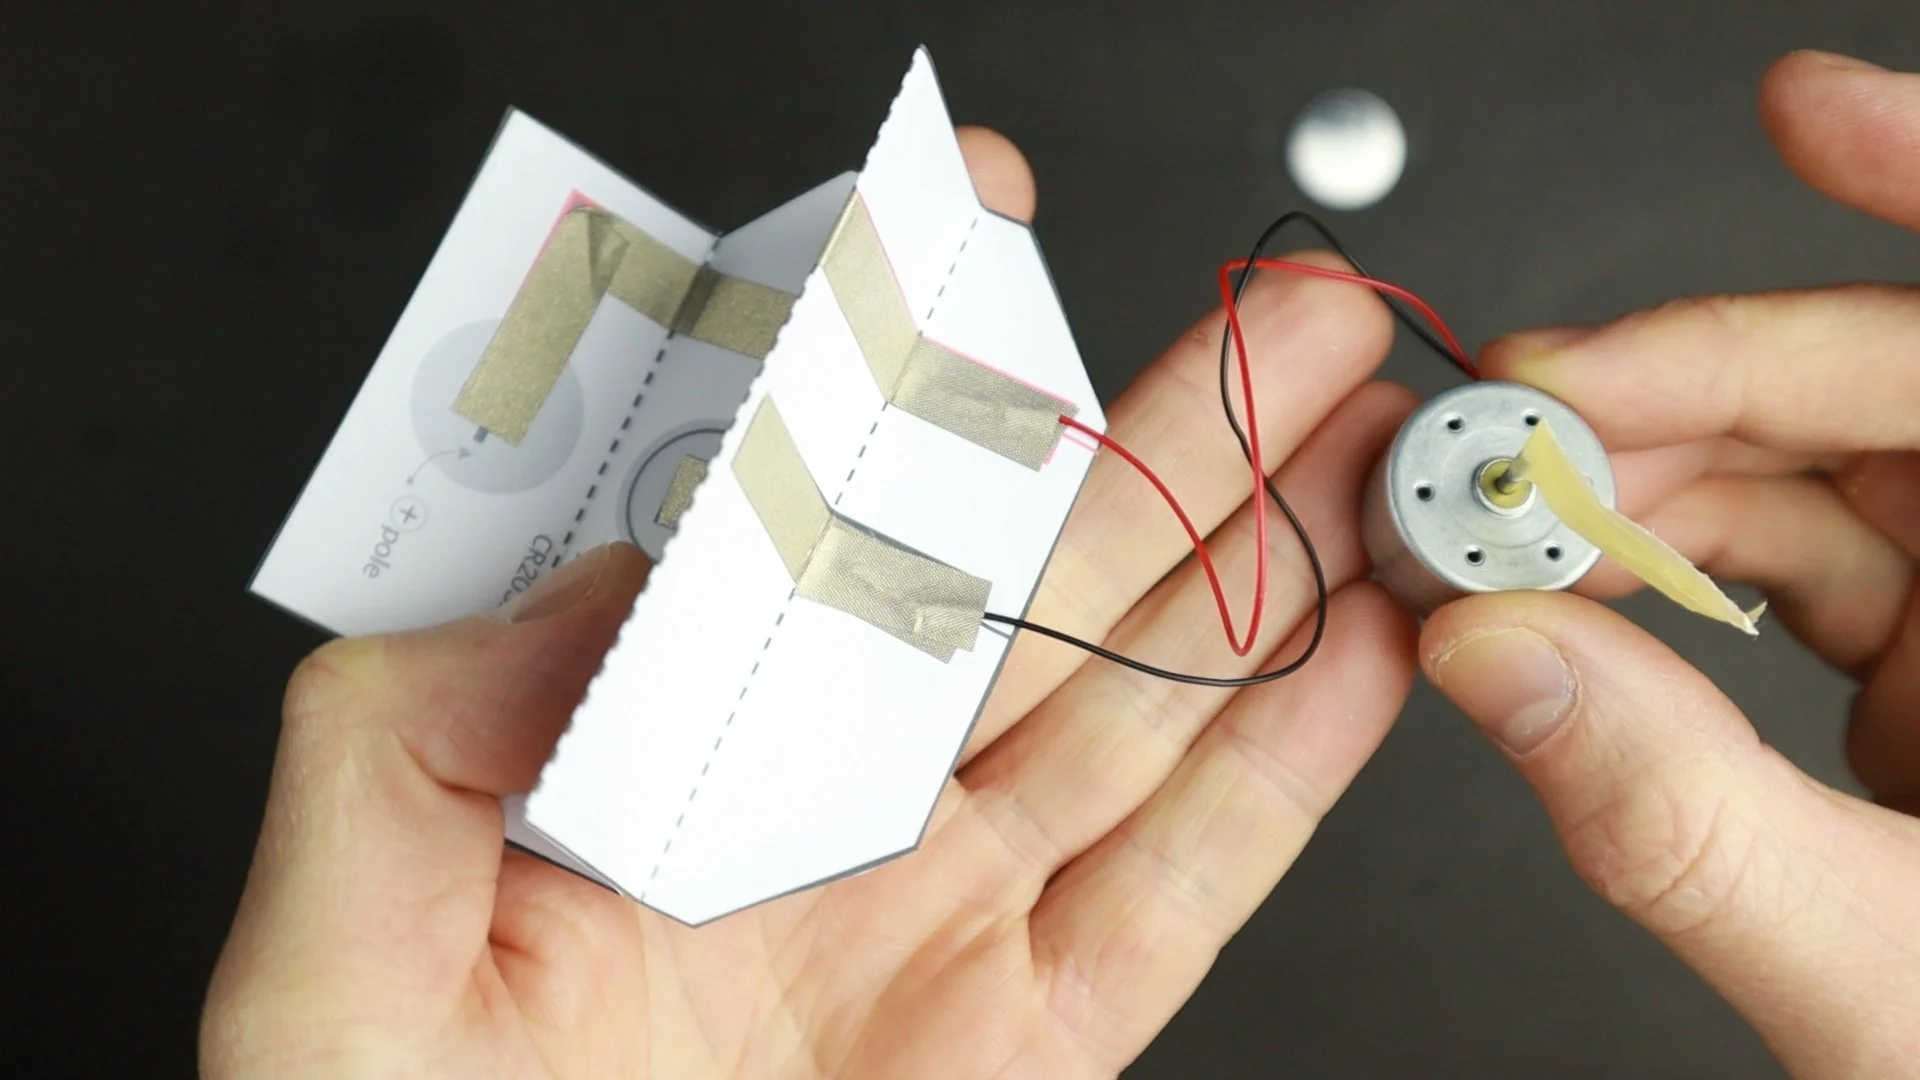
Included in every Download:
All the templates you need for this project, including multiple design templates.
My electronics shopping guide for this project.
Detailed instructions on my Stress-Free Workshop pages.
My Easy Circuit template for experimentation.
And much more!
Summer Robotics Activity
Variation: Solar Powered Bristlebot
Adding a solar cell
All my robotic projects use solar motors for a good reason: they work with button cells as well as solar cells. So go out and have some fun with your solar-powered bristlebot.
Instructions
You will find a link to the solar cell I use in the shopping guide included in the download above.
Remove the button cells from the circuit.
Strip the wire ends of a small solar cell (3–6 volts).
Attach the wires to the circuit where the battery used to be: red to positive (+) and black to negative (–).
This work is licensed under a Creative Commons Attribution-NonCommercial-ShareAlike 4.0 International License.

If you want to use my work commercially, write me an e-mail.
If you use or share my work, please attribute VoltPaperScissors.com as the creator of this work and provide a clickable link where possible.
Find more information about me, my project, and the license I use here.