
Don’t miss new content! Follow me:
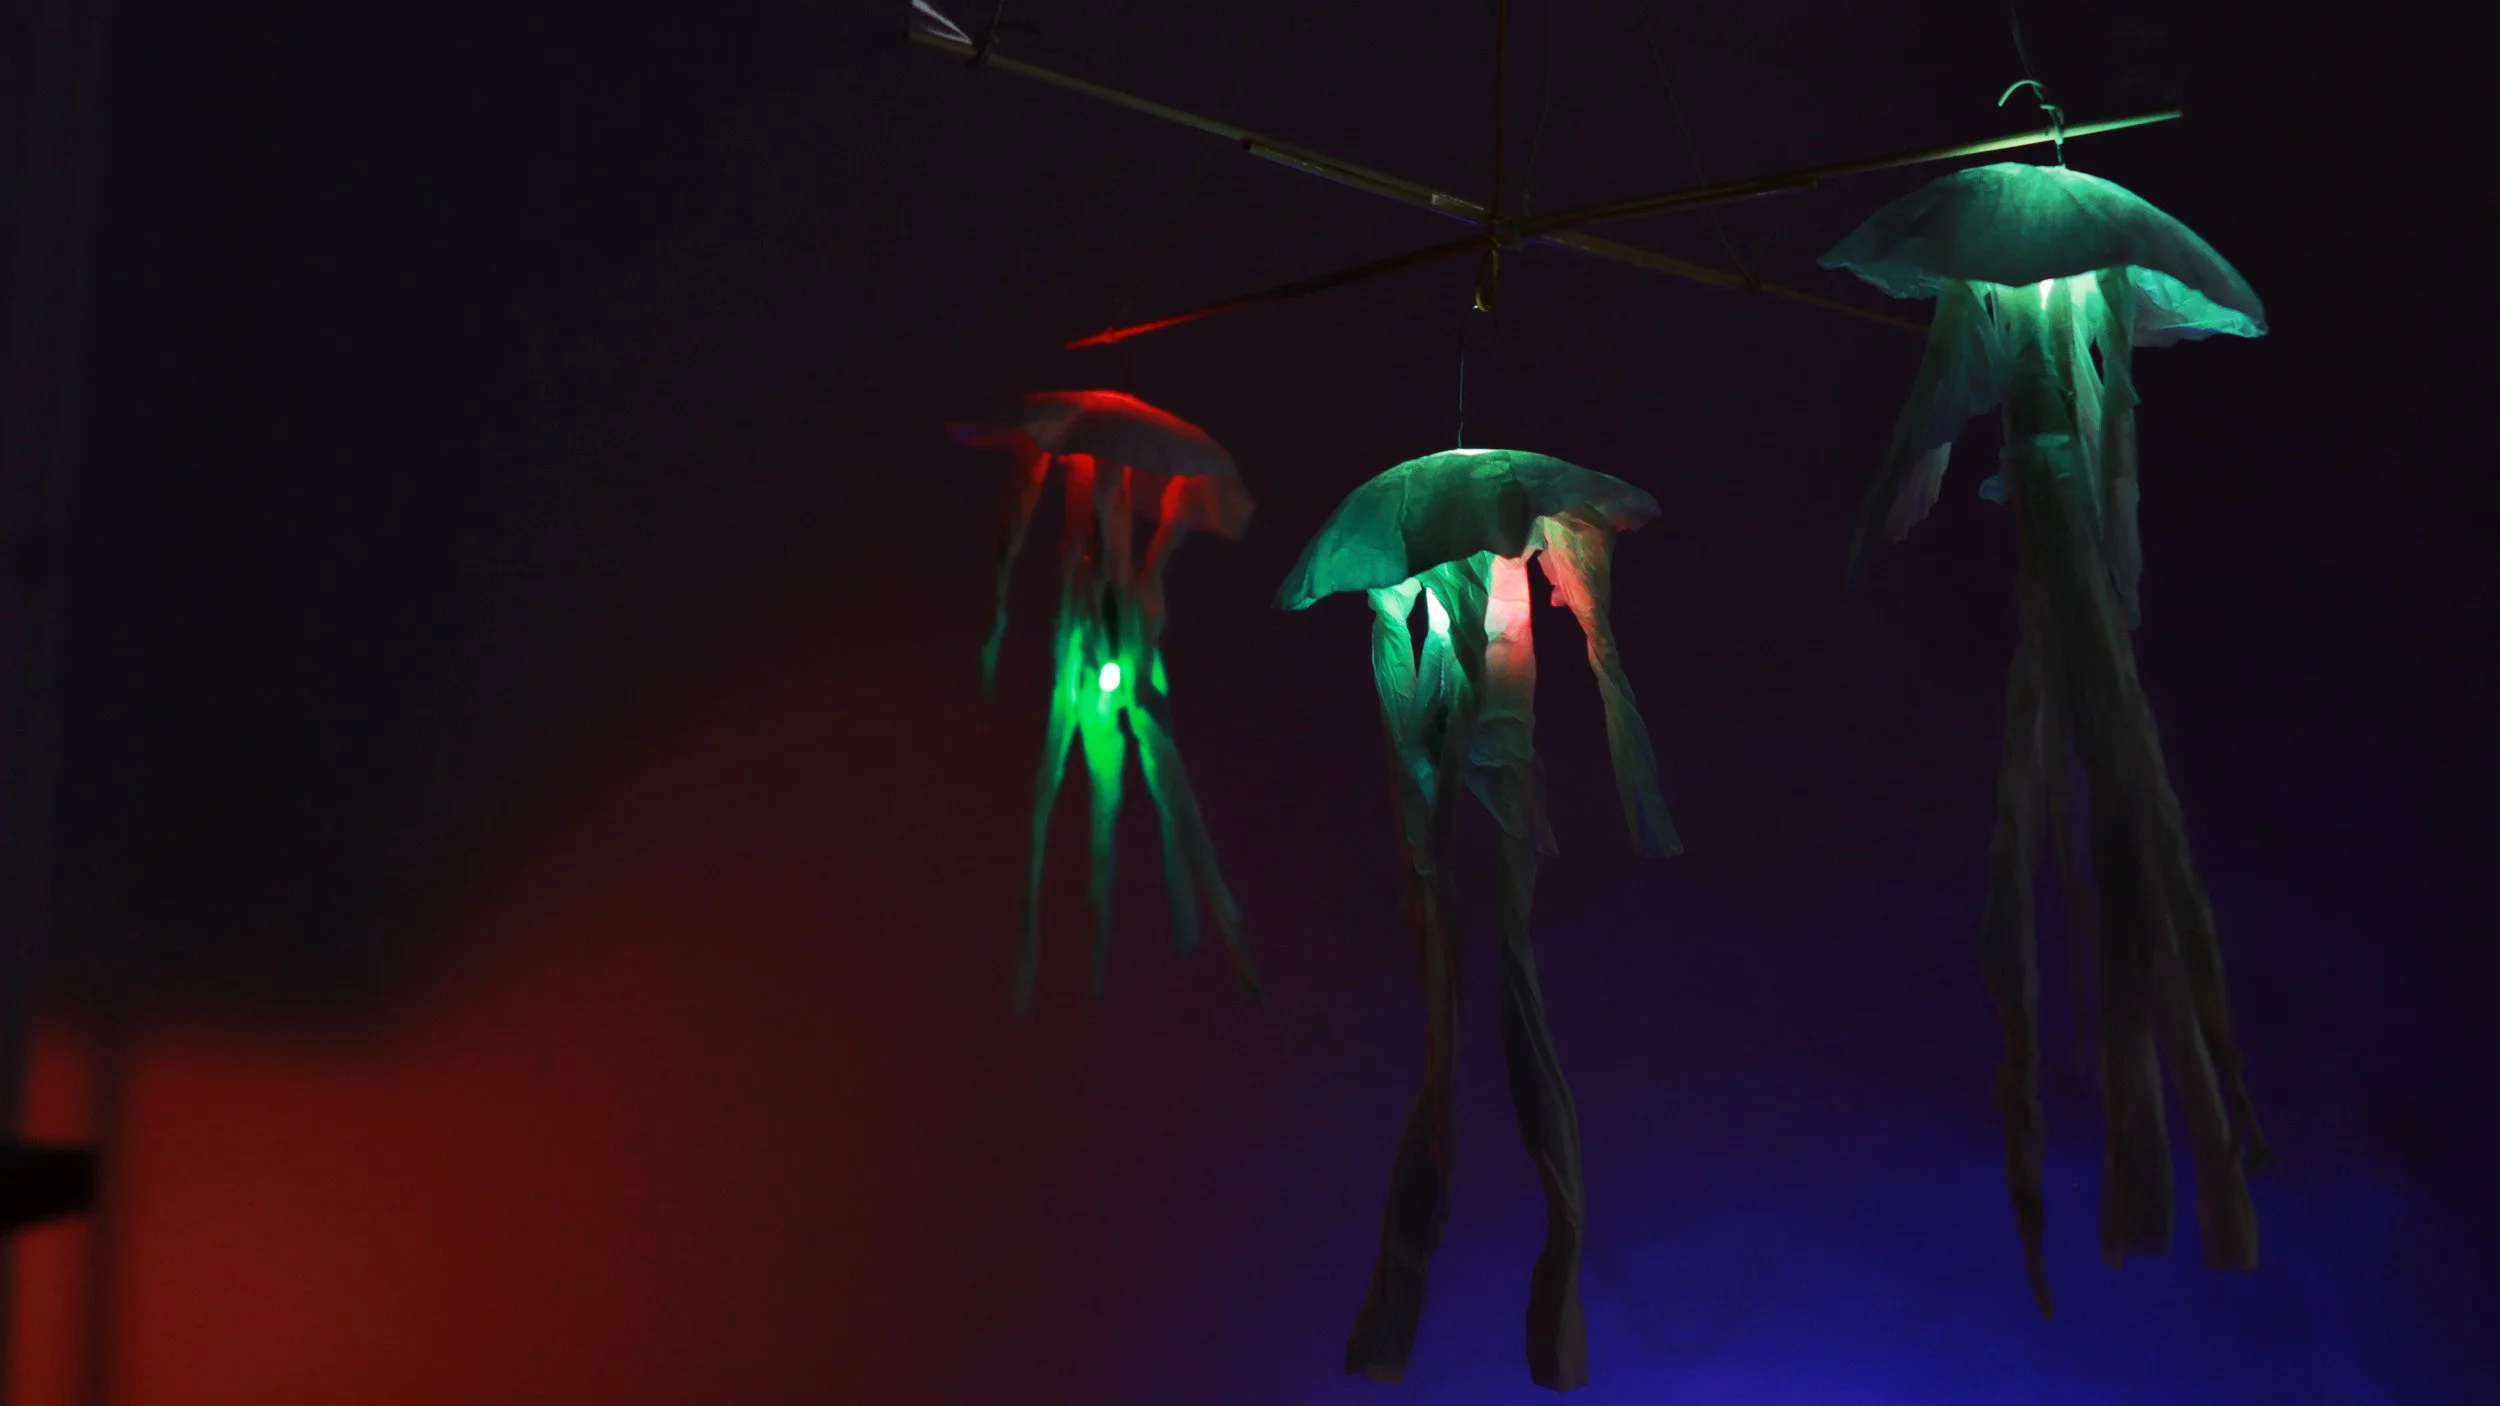
Illuminated DIY Jellyfish
Video Tutorial
These Illuminated Jellyfish are an advanced variation of my RGB Mushrooms. The jellyfish use multiple color-changing LEDs, which create amazing, ever-changing color gradients. Hang a bunch of these to turn any room into a deep-sea experience. This project is a perfect combination of crafting with paper and simple electronics.
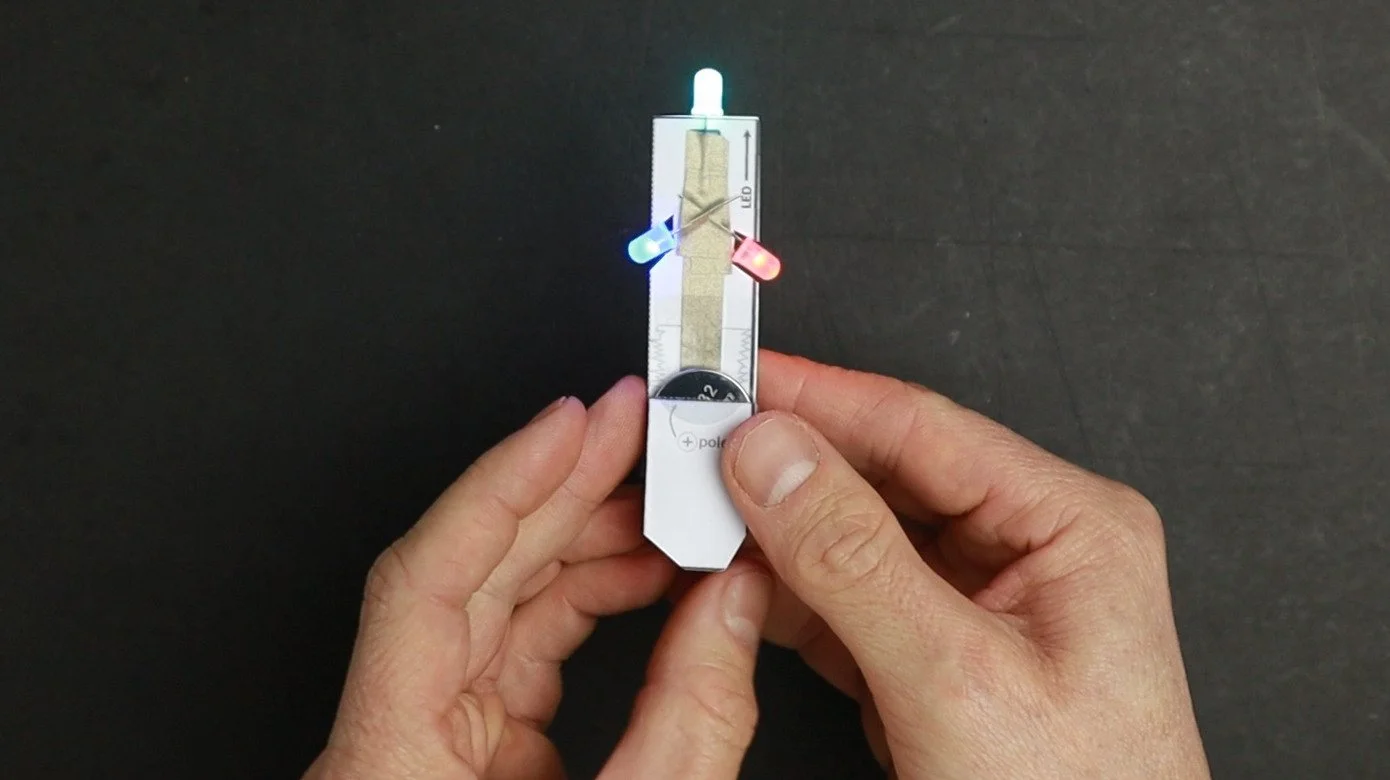
I’ve designed three circuits suitable for different time frames, with the easiest one taking just 15 minutes!
Note: I use special LEDs that change colors, but any LED will work!
Please watch the tutorial below for more about this easy and fun DIY project.
Facts about the Project:
Recommended age: 10 years and older
Skill level electronics: easy
Skill level paper crafting: medium
Time needed: 15-90 minutes (depending on the circuit variant you choose)
Estimated costs per project: about 2 Euro or Dollar
Templates and Shopping List
Visit my Teachers Pay Teachers store to download my workshop kit.
Included in every Download:
All the templates you need for this project.
My electronics shopping guide for this project.
Detailed instructions on my Stress-Free Workshop pages (one for each circuit version).
My Easy Circuit template for experimentation.
And much more!
Anglerfish Light Sculpture
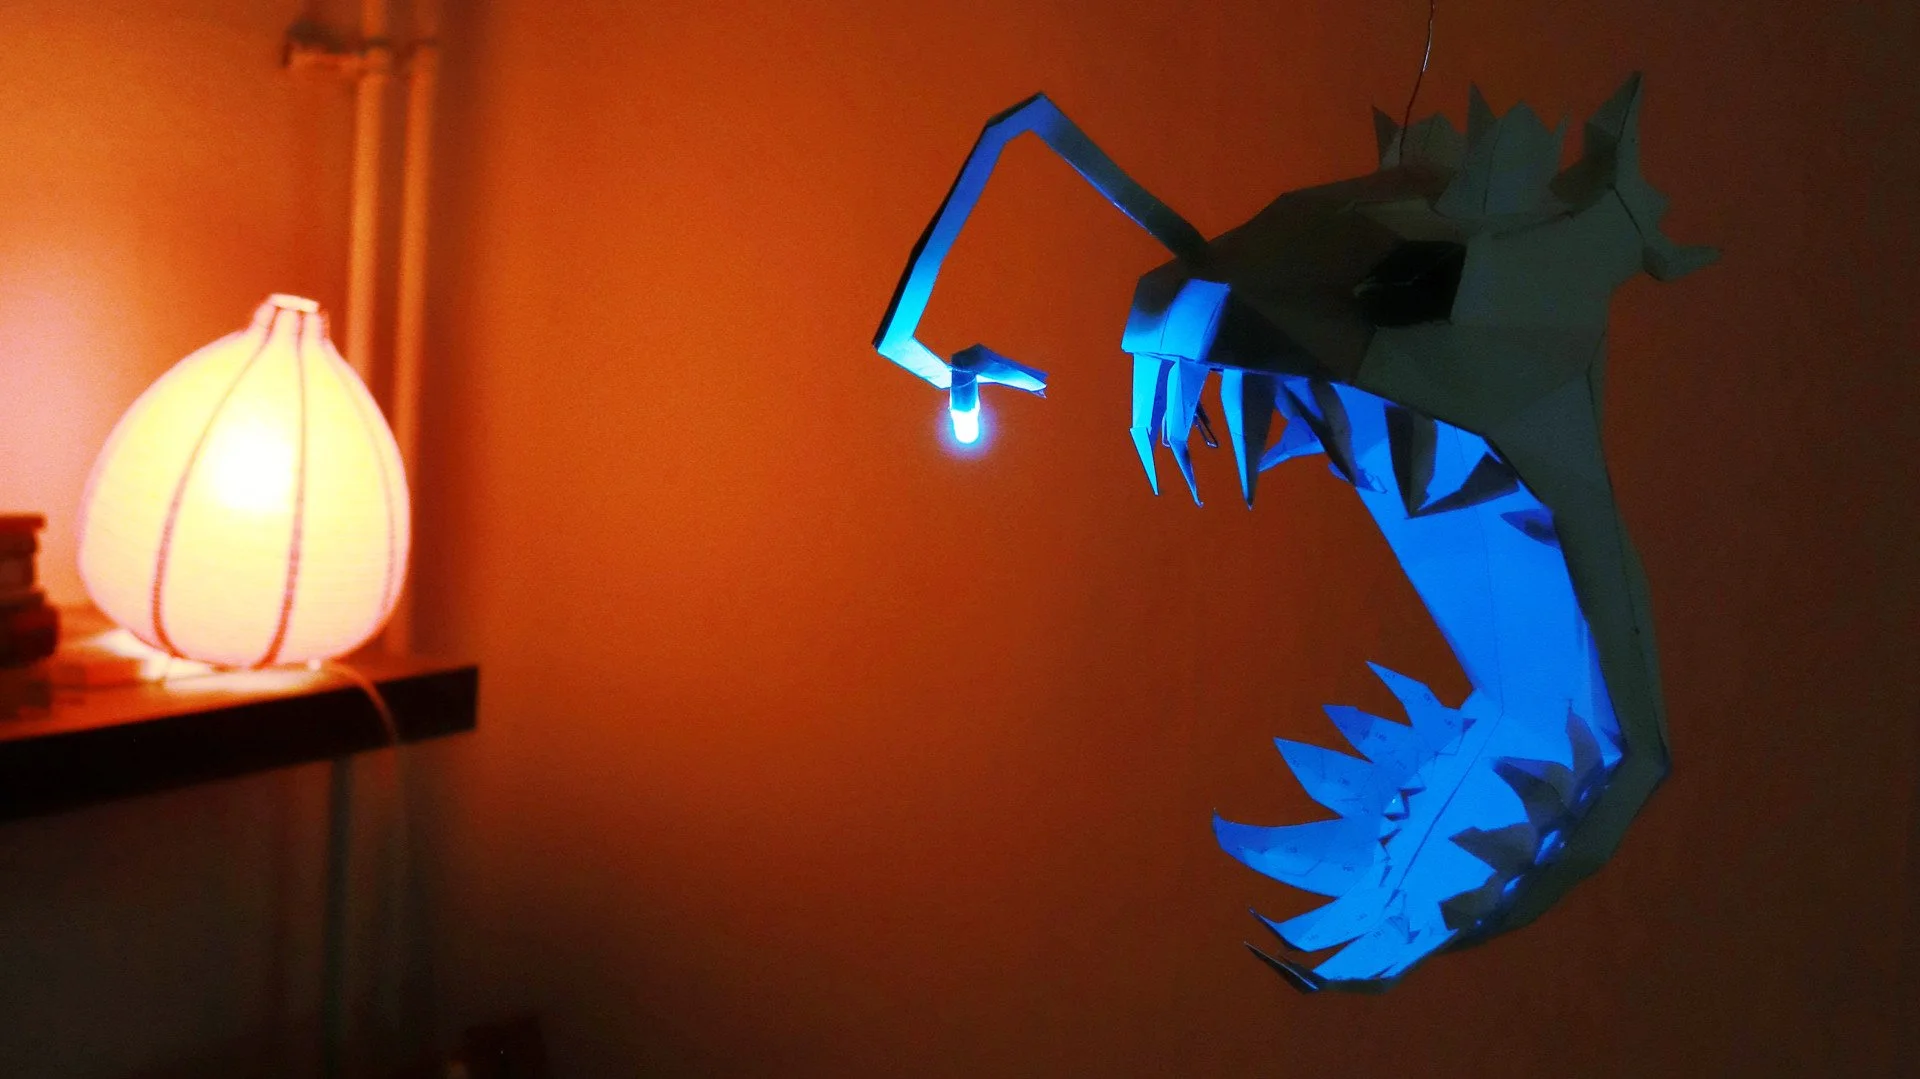
In the video above, I mentioned the light sculpture that I made for my room.
If you want to make this yourself (not recommended for kids), you can download my 3D model and the templates here.
Note: The template has some German hints on every page indicating where the parts should go. I freestyled the electronics into the finished sculpture, so the template does not include instructions for that.
A word of warning: It was a tedious process to put everything together.
This work is licensed under a Creative Commons Attribution-NonCommercial-ShareAlike 4.0 International License.

If you want to use my work commercially, write me an e-mail.
If you use or share my work, please attribute VoltPaperScissors.com as the creator of this work and provide a clickable link where possible.
Find more information about me, my project, and the license I use here.