
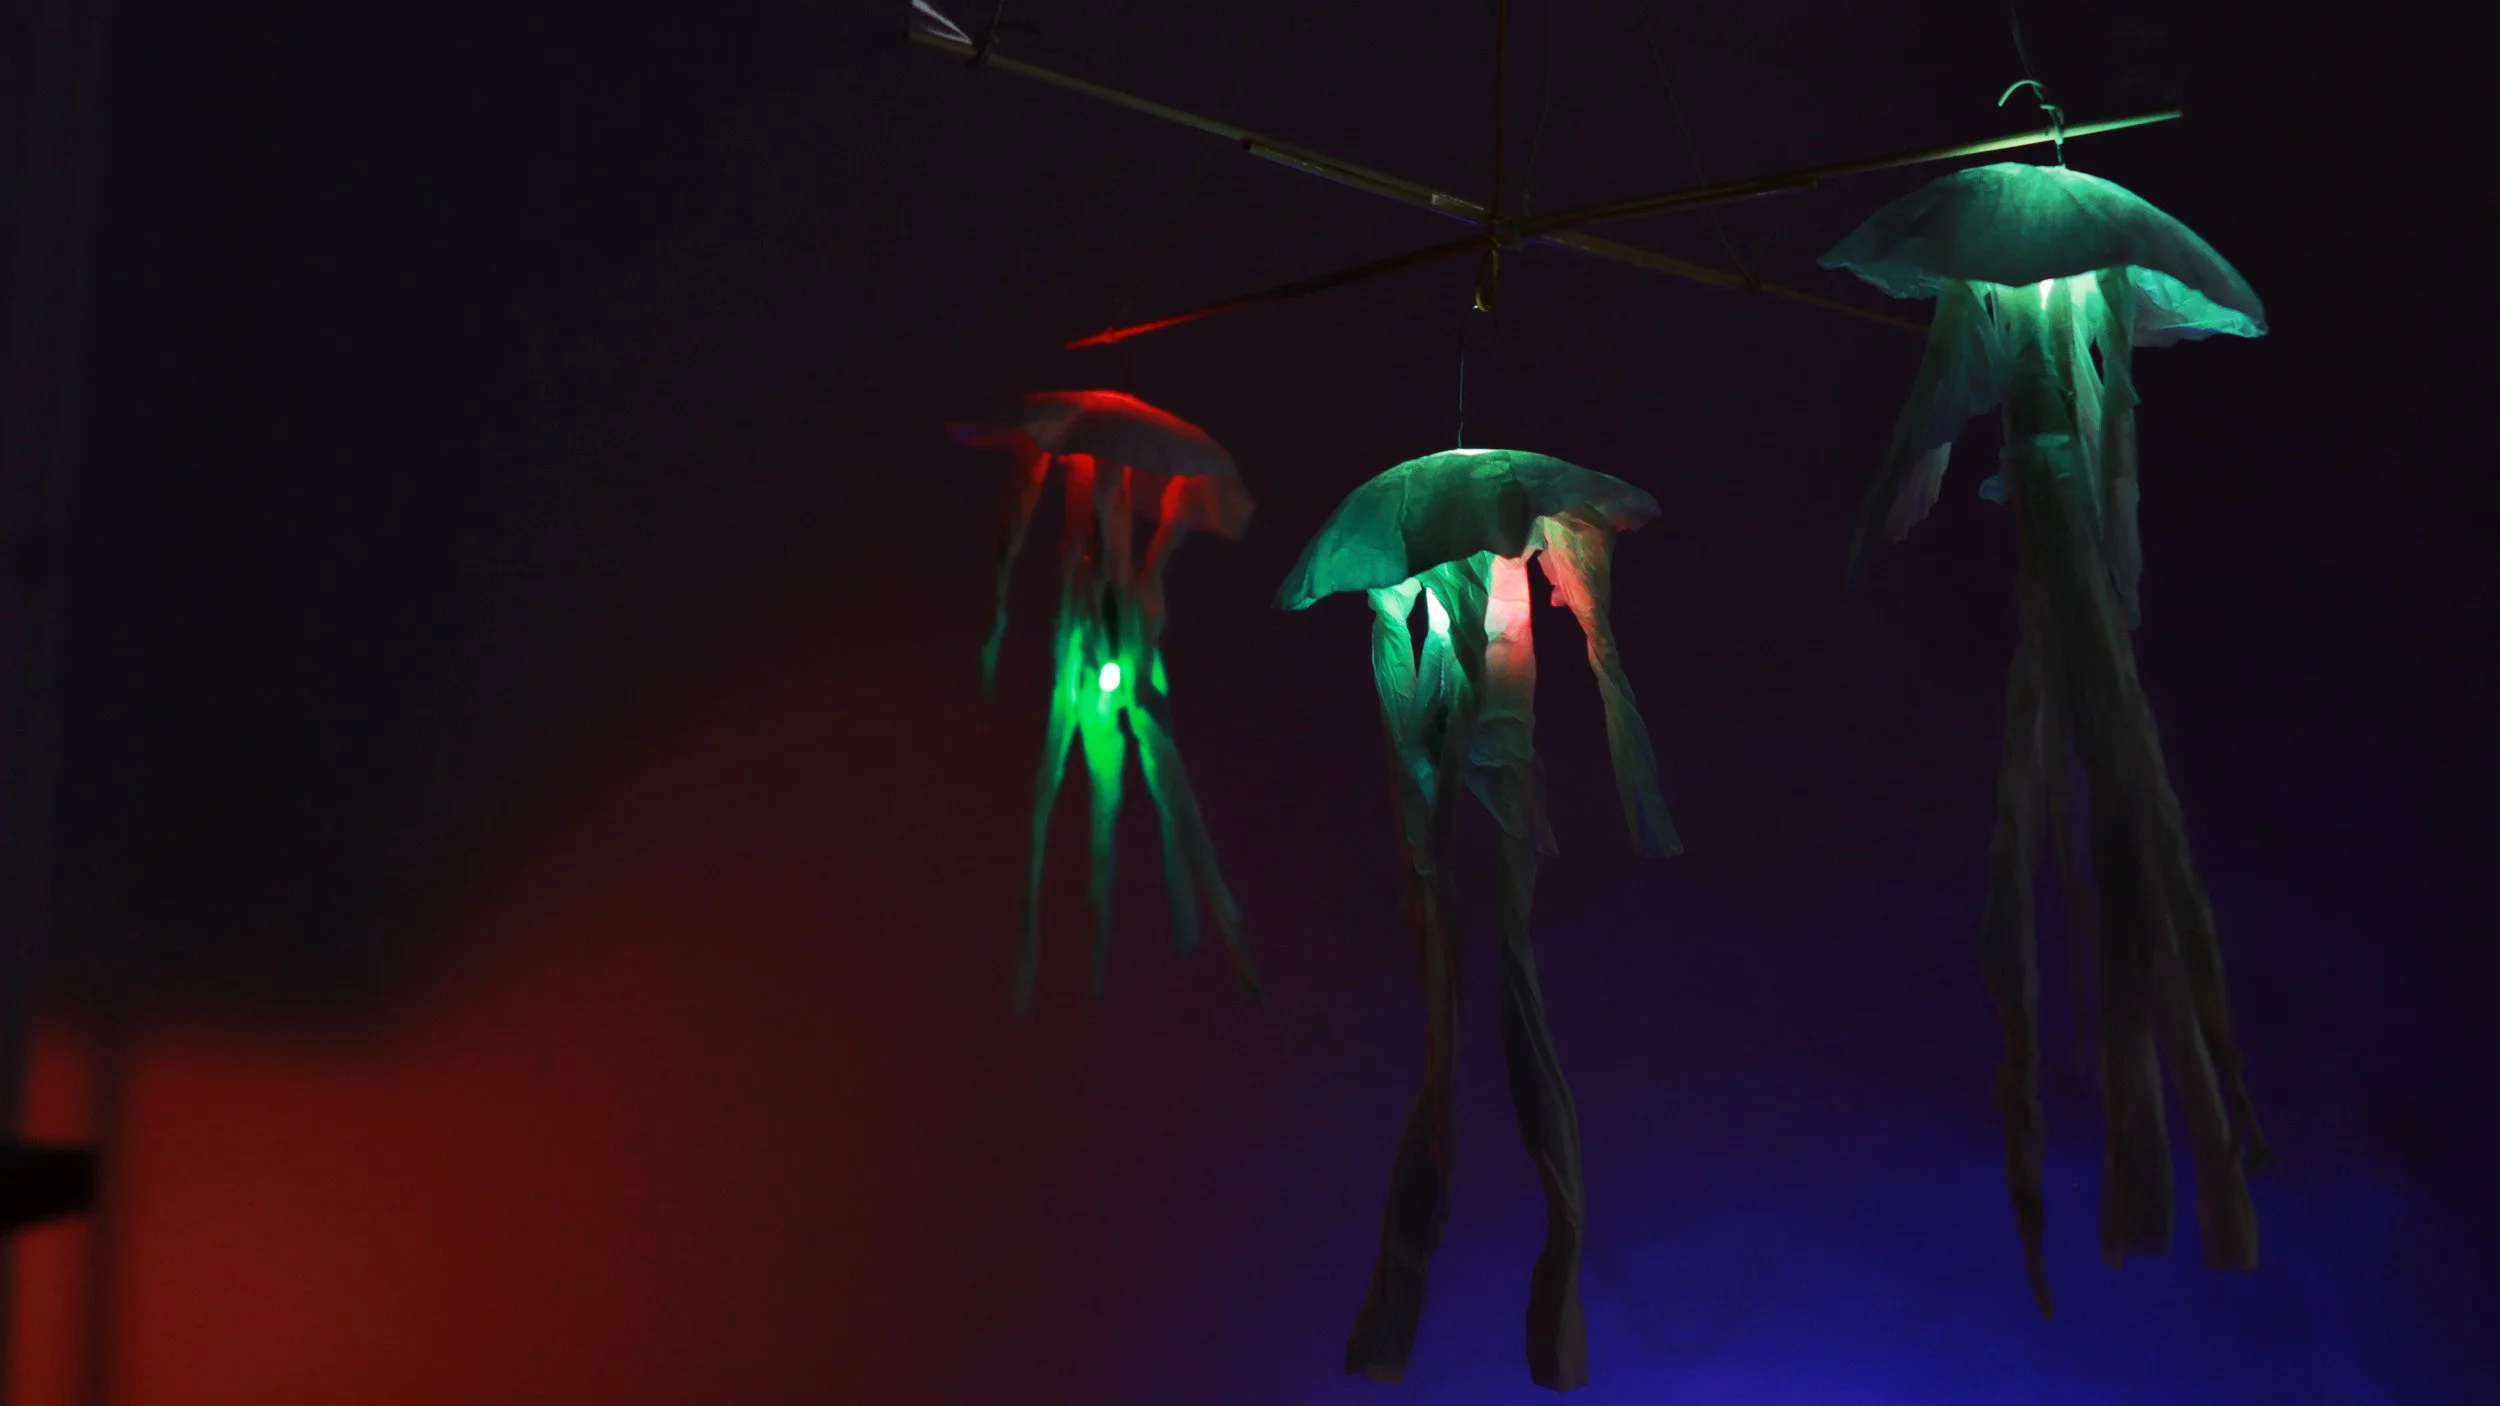
RGB Jelly Fish Teaser
Materials

What you need
my printed template
thin translucent paper (not to sturdy)
conductive tape
three LEDs (RGB slow fade)
button cell
binder clip
paper clip
scissors
transparent tape
paper glue
Printing the Templates
For this project, I recommend printing my templates on 160g/40lb paper, but any paper should work.
Preparation - Test Your LED

Things to remember
LEDs only work in one direction.
LEDs have a longer leg. It has to point to the plus side of the button cell.
You can use any LED for this project.
Step 1 - Form The Body
Steps:
Grab the middle.
Bring all corners to one side.
Squash the paper.
Inflate the jelly fish body. Make it as big as possible.
Grab the lower part and wrap the body around your fist.
Step 1 - Form The Body
Steps:
Grab the middle.
Bring all corners to one side.
Squash the paper.
Inflate the jelly fish body. Make it as big as possible.
Grab the lower part and wrap the body around your fist.
Step 2 - Form The Outer Tentacles
Steps:
Cut the paper and separate the four corners.
Twist the corners to form four tentacles.
Move the tentacles to the outside of the jelly fish body.
Model the jelly fish to your liking.
Step 3 - Make The Inner Tentacles
Steps:
Prepare 2 or 4 long strips of transparent paper.
Twist the paper strips to form long tentacles.
Tips for teachers:
Videos restart automatically, so you can move around the room while the video continues to play.
On low bandwidth, you can also right-click on a video and select 'Loop' to loop the video without reloading it.
I like to hover the mouse over the play button to keep the progress bar visible.